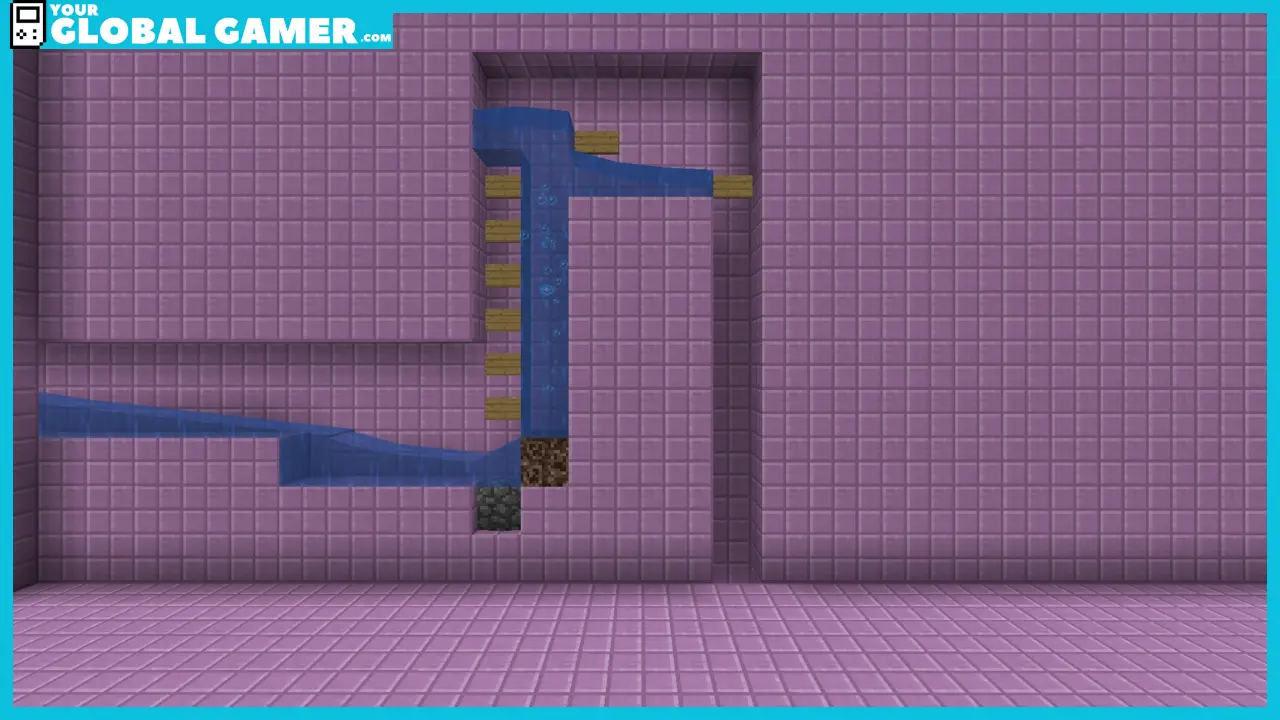
This page contains information on how to make a bubble elevator in Minecraft Bedrock.
Finding a reliable means of transport in the game can be challenging because of the limited options. When players want to travel vertically, transportation becomes more difficult. For instance, when players want to go up, the options available for movement are either you stack blocks up or craft items that will help them climb, such as a ladder.
Related | How to Turn On Experimental Gameplay in Minecraft PE / Bedrock
When players want to go down, they need to do their very best to prevent themselves from getting any fall damage which is capable of killing your character.
Therefore, there is a way in which players can travel up and down the map smoothly without the risk of falling, which is the use of a water elevator. It is one of the world’s most efficient means of long-term transportation assistance.
Contents…
- How a Bubble Elevator Works
- Materials Needed to Make a Bubble Elevator
- Steps for Making a Bubble Elevator
- How to Use the Water Bubble Elevator
How a Bubble Elevator Works
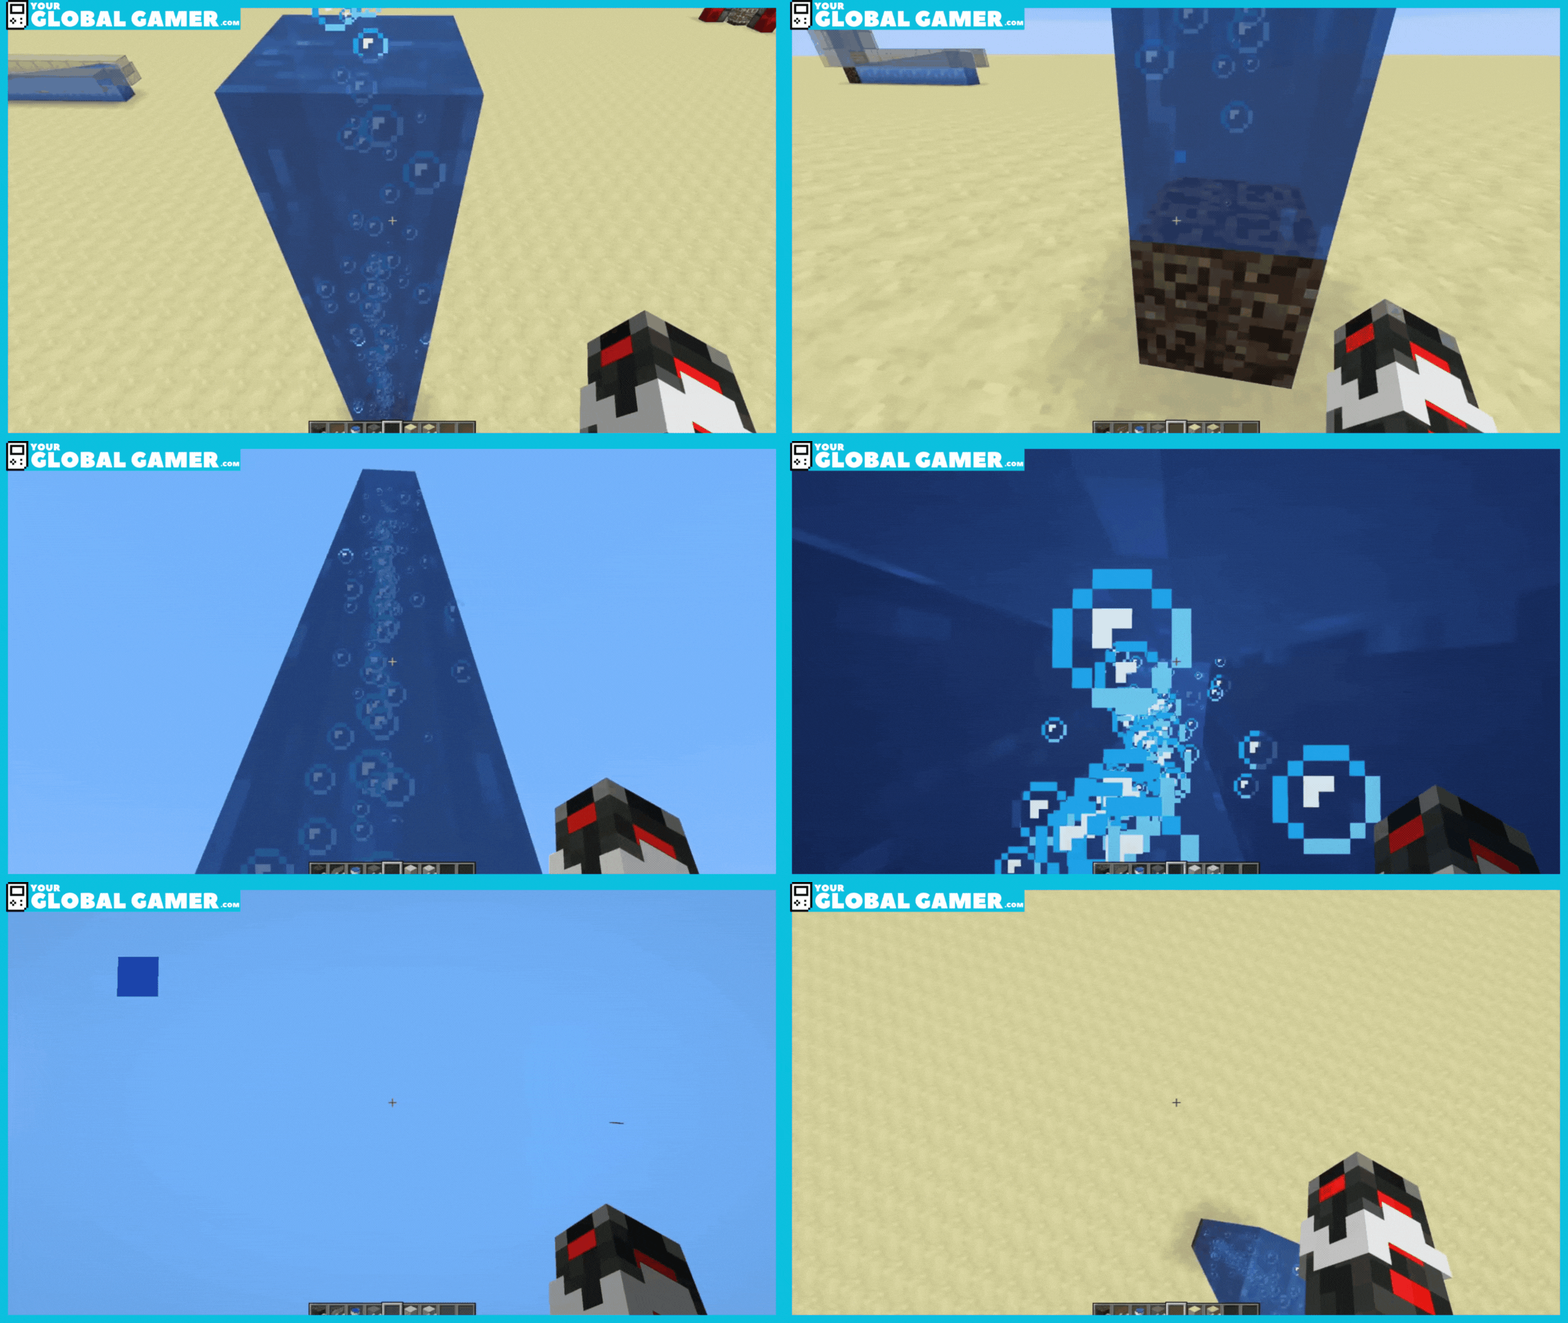
Plenty of blocks in the game are renowned for creating gaseous bubbles inside the water blocks of the game. The bubbles are capable of moving items around using the water. Still, it is all dependent on the stream flow of the water. When an object enters a bubbling stream of upward-moving water, the object will go upwards. The same also applies to the downward-moving water stream.
Because one stream of water cannot move upwards and downwards, players should create two water elevators for quickly going both ways.
Materials Needed to Make a Bubble Elevator
The necessary equipment needed are:
Buckets of Water
Because players will be making two separate elevators, there is a need to have two sources of water. So players should create water buckets and use them to collect water on a river, lake, or any water body. To do this, equip the bucket and tap on one of the water sources to collect the water.

One Stack of Kelp
Since the bubble streams only function with source blocks of water, for every floor of the water elevator, there needs to be a different source of the block of water. Placing kelp in flowing water will convert the water into a water block. Kelp is easily located since it is a common plant that grows across the game’s oceans.
To collect the kelp, break the plant, and several pieces of kelp will simultaneously drop next to you.
Wooden Doors
The wooden doors are vital for preventing water from flowing out of the water bubble elevator in the game. To do this, place wooden planks on top of a crafting table in order to create doors.
Getting Magma Block and Soul Sand
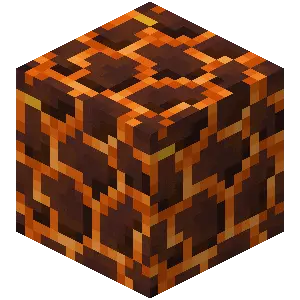
Magma blocks serve the function of making objects in the water elevators flow downwards with the bubble streams. On the other hand, the soul sand makes the object and the bubbles float up. The two blocks can be obtained in the Nether Dimension of Minecraft. Therefore, players must create a Nether portal to travel to the dimension and look for the magma and soul sand blocks.
Another option players have is to locate magma blocks on the floor of the game’s oceans.
Steps for Making a Bubble Elevator
Step 1: Build Pillars
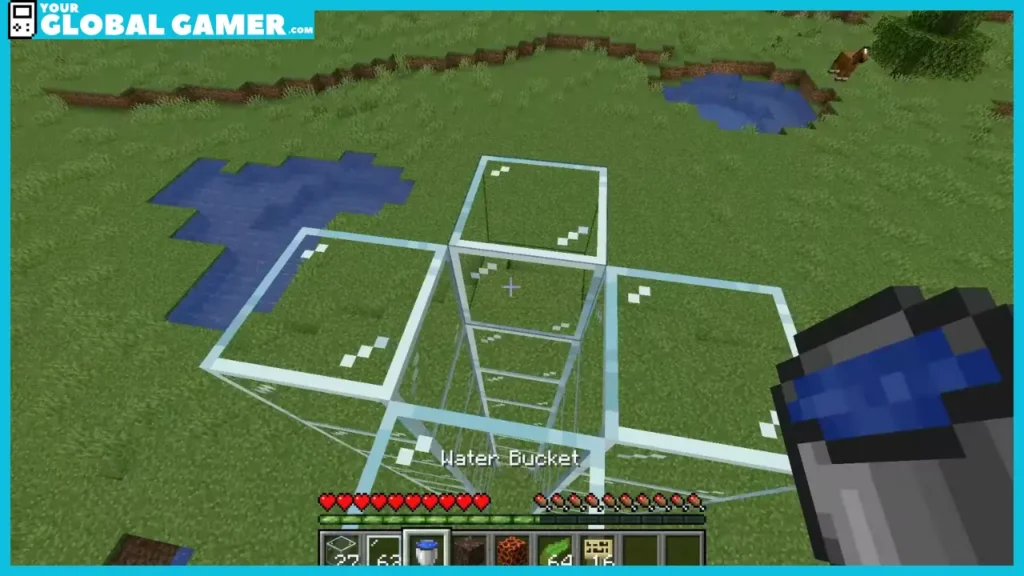
The first step is building three glass towers around one block and ensuring the fourth side is empty. The glass towers need to be extremely high, similar to what you want your elevator to be.
Step 2: Build The Entrance Using Signs
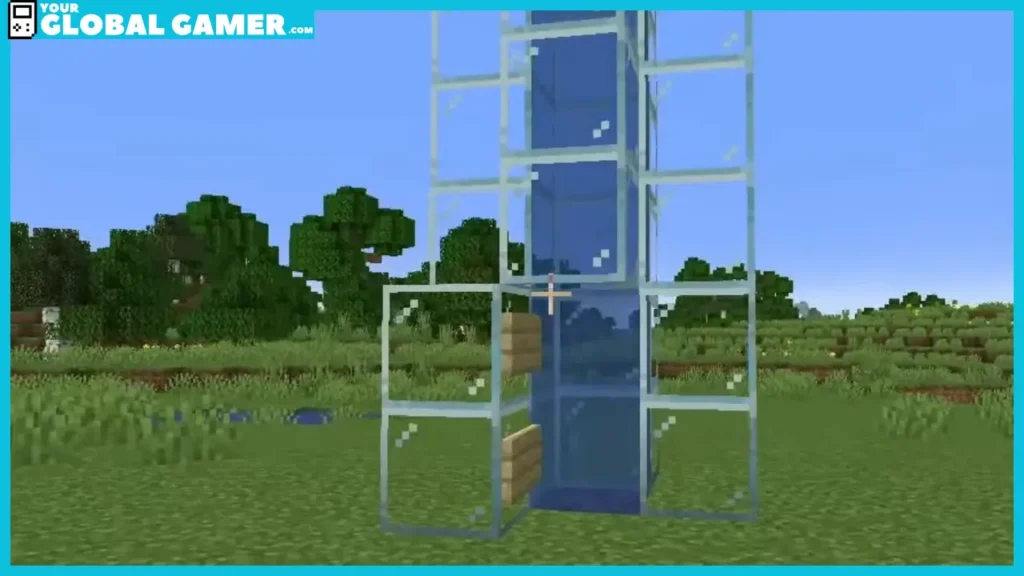
After doing this, in the spot of the fourth tower, create a tiny door-like structure with a door at the structure’s entrance that maintains the water inside your elevator. Then above the doorway, make the fourth tower right above it.
Step 3: Add Water at the Top
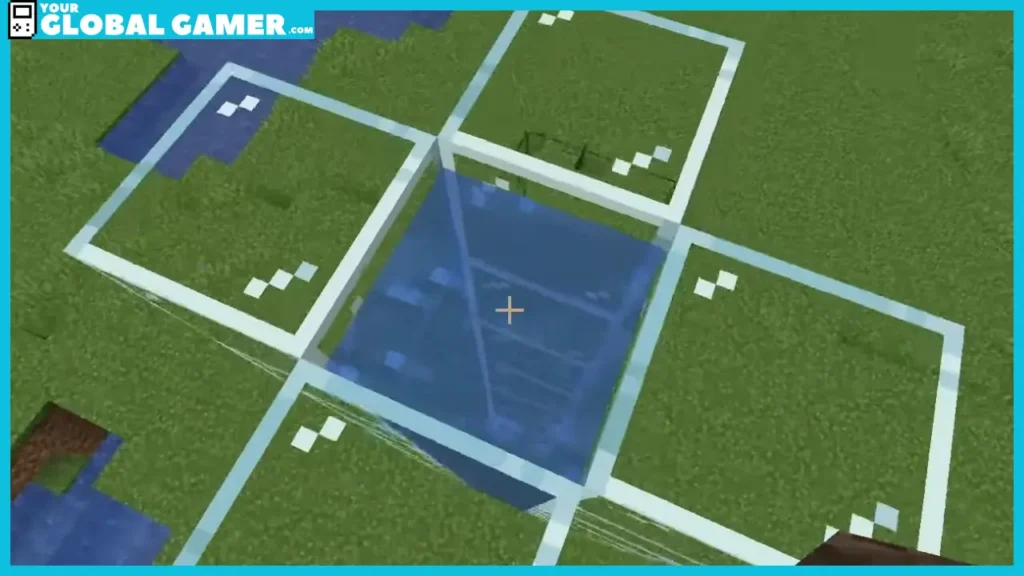
After completing the elevator part of the bubble elevator, you can now go ahead and add water. To do this, head to the top part of the structure and make use of the water bucker to place one block of water in the elevator. The water block will automatically move down the lower part of the elevator.
Step 4: Fill the Tube With Kelp
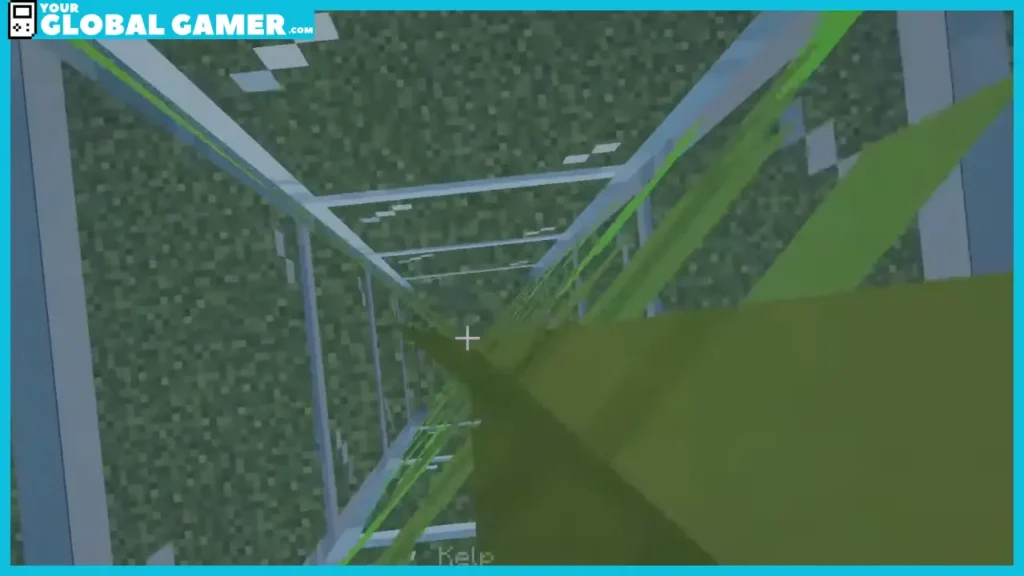
The next step is to put the kelp in the elevator to convert the flowing water into water source blocks. Begin from the lower part and create a kelp tower by putting one piece of kelp atop another.
Step 5: Break The Bottom-Most Kelp Block And Add Soul Sand or Magma Block
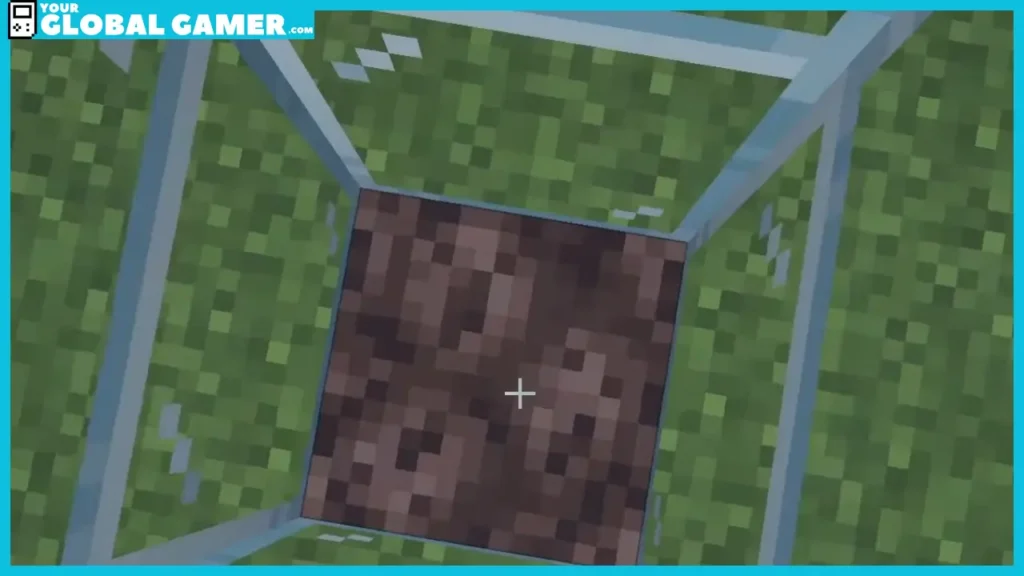
After this, break the lowest kelp piece to make the entire structure collapse, leaving the water source blocks intact.
Now, replace the tube’s floor with either a Magma Block or Soul Sand.
How to Use the Water Bubble Elevator
When you place a soul sand block on the water elevator, this will result in an upward bubble stream. Therefore, players who enter the bubble elevator will be rapidly pushed up to the top of the elevator. You can exit the water flow and head to the top glass block when you reach the top.
Place the magma block at the bottom of the elevator to create a downward water bubble elevator. This will make the block pull the water down alongside any objects in the water. To switch the functionality of the elevator, change the blocks placed at the bottom of the elevator.
However, it is best to make two separate elevators for ease of functionality. Alternatively, players can also make double elevators. To do this, they must make the elevators two blocks wide. Afterward, put the soul sand and the magma block at the bottom. With both blocks at the bottom, players can go up and down the elevator using the magma bubbles and soul sand bubbles, respectively.
The water bubble elevator is used for traveling vertically around a Minecraft base. It can also be used to transport items and mobs through the game’s farms. Also, they can be a way of trapping mobs or other players in their complex flows.

